Showing posts with label SYW battle. Show all posts

Tuesday, 11 February 2014

Back to the coffee table

I tend not venture the five yards to the wargames shed whilst is it cold and dark and last winter I played around with the coffee table wargames project. Due to various reasons, primarily laziness, I haven’t revisited this project this winter except in my head.

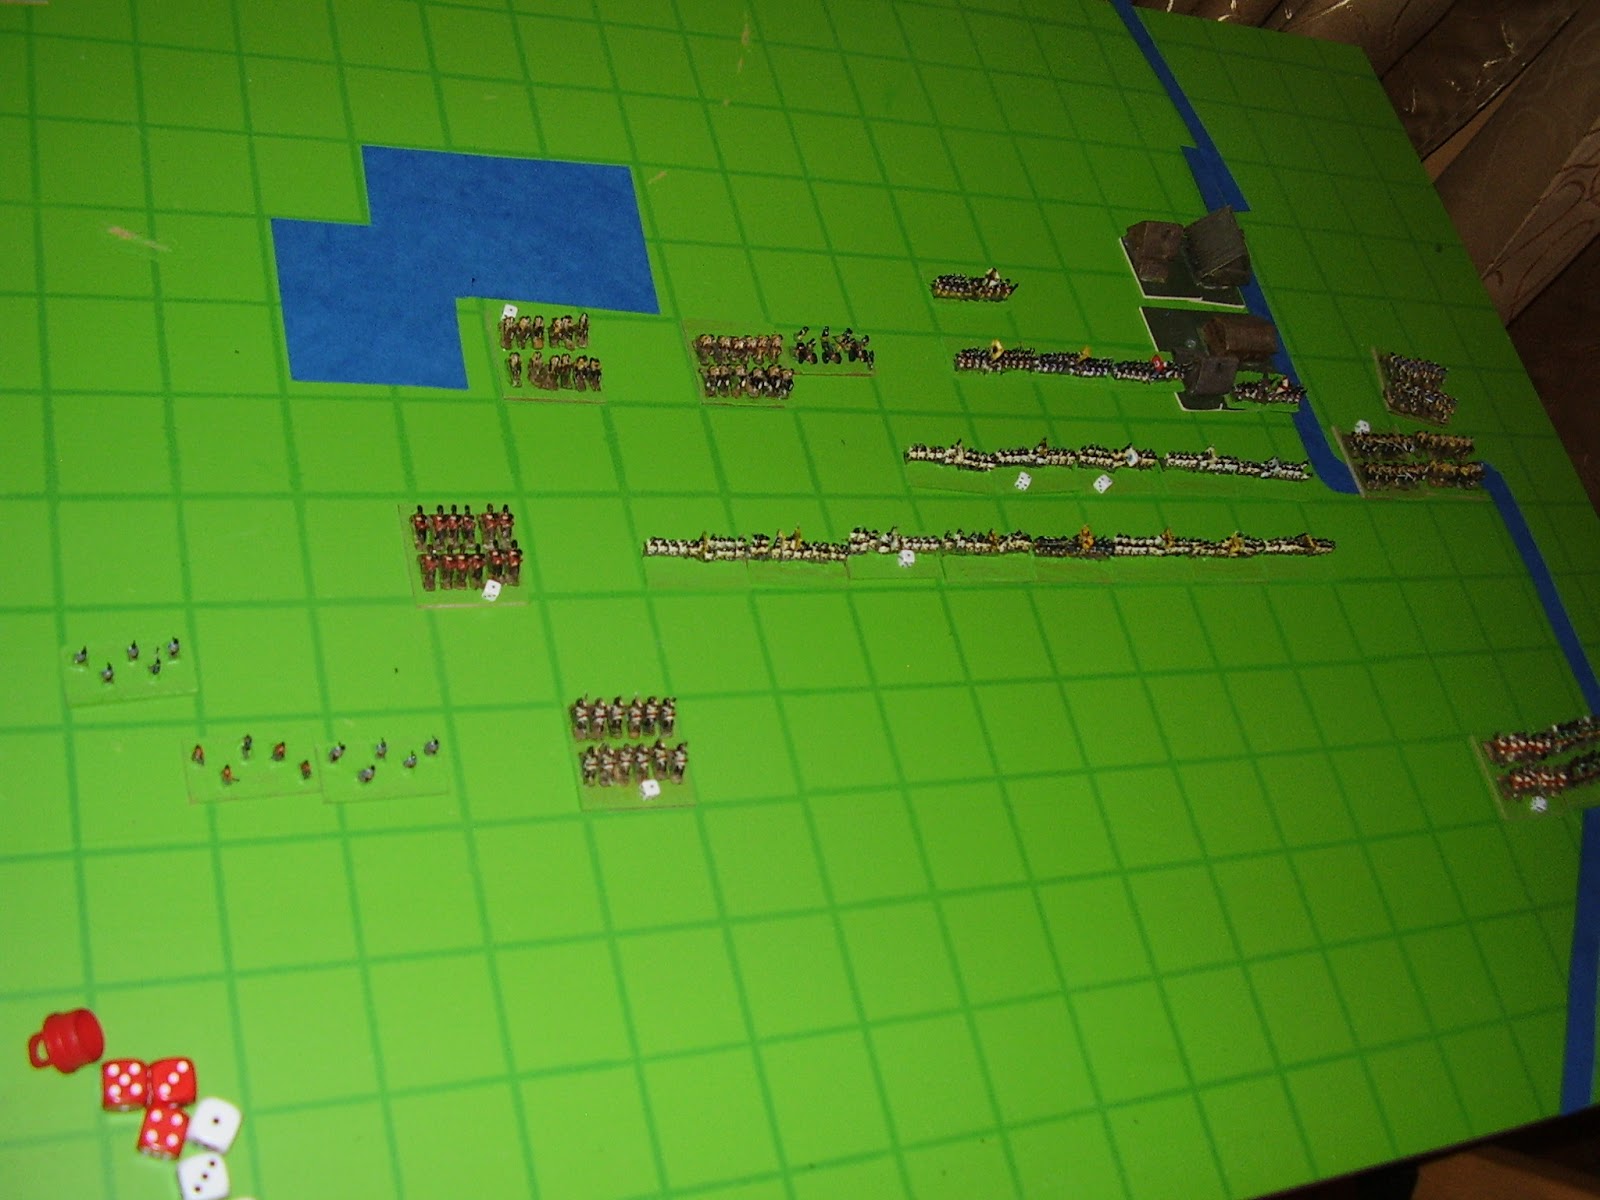
So back to it. One of the things I wasn’t overly happy with was the look of the grids on the painted surface so I’ve used half a peter pig table, measuring 36 inches by 30, which is a bit larger than before but still coffee table-ish. And the squares have been abandoned.

Inspired by C18th Sojourn I’ve retried the DBA extensions for horse and musket.

Setting up a random table I had a quick bash with 6mm Austrians and  Prussians. somewhere in Silesia 1745.

I soon remembered why I wasn’t 100% happy with these rules as units recoiled from long range artillery and lost their lines far too quickly.

The lack of squares also slowed the game down significantly. Whilst playing an opponent the time taken measuring is diluted with the banter and chatter but when playing solo it becomes a chore when time is of the essence.

My aim is a game in an hour (whilst the Duchess bathes or watches some interminable murder programme on the TV). I suspect some form of grid will return.


 They opposing forces line up, with flanks protected.

 Prussian cavalry front the vineyards and grenadiers hold the village


 Austrian massed cavalry

 meets the Prussian attack

 The Austrian line advances
 to meet the blue line


and is repulsed.

Sunday, 24 March 2013

Hohenfreidburg

I revisited Twilight of the Sun King rules for the next quick SYW squared rules. However I incorporated the morale test at various points in the turn sequence, for units under bombardment, wishing to charge home and as a reaction to friends routing. The close combat was however a competitive exercise rather than a morale test.

They worked okay but, yet again, not what I was after as they were just too slow and require too many markers.


Hohenfriedburg was a battle of two halves and given that the first half was a foregone conclusion I had a go at the second.  The Prussians lining up against the tardy Austrians, the right wing pursuing Saxons.


The "forgotten" super regiment of Bayreuth charge home.


.... and are repulsed. These Austrians have not read their Duffy!!!!!!!!

After an hour and half of fairly tedious dice throwing these rules are destined for the waste bin.

I have been reading with interest the blog http://18thcenturysojourn.blogspot.co.uk/  and DBA variants.

I'll give them a go.

Sunday, 6 January 2013

Chotositz 1742


It was back to the rules drawing board for the Battle of Chotositz. I started with the premise of 3 and 3. Each unit has an attrition rate of 3 and would be allowed 3 dice for firing and/or melee. This will of course need some fine tuning, artillery for example gets 3 dice at close range, but 2 and 1 for medium and long ranges respectively. Elite units and cuirassiers may get an additional dice.


The whole Austrian army advance against the brigade of cavalry, lined up in front of Cirkwitz pond, and the five regiments of foot resting their flank on the town of Chotositz. Miniature dice placed on the unit base measures hits on the unit.


The aim of the Austrian commander, Charles of Lorraine, is to destroy what he believes to be an isolated Prussian army. Frederick however had broken camp early and was either racing to assist Prince Leopold or was waiting behind the curtains as the Austrians were enticed into an assault (depending on the source). Either way all the Prussians on table have to is hold on.

 Austrian cavalry on both wings charge.


Austrian cavalry charge into disordered Prussian as they cross the marshy stream


... and are repulsed by lucky dice.


On the opposite wing The Prussians lose a brigade of cuirassiers but the second repulses their opposition. The infantry take casualties from efficient musketry.

  
The cavalry battles rage on on the wings but the Austrians exchange fire when they ought to be charging home.


 The white coats numbers begin to tell but they can't break into the village.


However by move 7 the Prussians are reinforced by a slightly tardy Frederick and their position in untenable.
These embryonic rules gave a more satisfying game than the previous DBA style but the casualty marker dice are both too fiddly and too unsightly. Some sort of marker is required.

Sunday, 30 December 2012

Square Lobositz

Der Alte Frtiz' excellent blog proved as entertaining as ever on 27 December when he presented us with Lobositz on the grand scale. I think most British wargamers only get to use such a large table at a club and few have such a wonderful collection of figures.

Lobositz itself is such an intriguing battle, if it hadn't actually been fought no doubt C S Grant would have made it up as a "wargames scenario".

Having a spare hour before lunch  I decided to have go at using a two foot table as opposed to DAF's fifteen footer. For speed I went back to the rules I originally though of a few weeks ago. For the OOB I used the original Volley and Bayonet ruleset.


Austrian troops set up in an excellent defensive position behind the Morellenbach and around Lobositz, whilst Croats swarm over the Lobosch (top right). The Prussians advance onto the Homolka and in the valley.


Move 1 - Austrian cavalry move forward to meet the advancing Prussians
Move 2 - the cavalry clash...
and the Austrians come out on top: routing two Prussian cuirassier brigades.


 The Prussians advance towards the croats on the Lobosch


Move 3 - The Austrian cavalry press on


whilst on the left the Austrian horse pull back out of artillery range and the Prussian horse advance

The white coats move right to reinforce Lobositz


Back in the centre the few remaining Prussian dragoons rally behind their infantry.


Move 4 - the Austrian cavalry rallies back in the face of advancing blue coats whilst the Lobosch is reinforced by Austrian foot.


Move 5 - the Prussians advance all along the line

 but come off worst against the Imperial forces behind stream and sunken road.


It becomes apparent that any further assault would be futile against such defensible terrain.


The Prussians fall back.
The Saxons are rescued.
Austria wins the war and Frederick is exiled to Massachusetts where, in 1775, he becomes the first president of the new country of USA - possibly.


Wednesday, 21 November 2012

PWG AoE part trois

Had a quick go at the PWG C18 rules I mentioned last time. Starting at the beginning of Prof Duffy's maps I had a go at a version of Mollwitz, with various levels of success.

The first quandary was whether to add in some national characteristics. In the end I did as I thought it was the essence of Mollwitz and I made all Austrian cavalry elite and their infantry poor.

The armies were almost equal in  numbers of bases, Austrian 18 to Prussian 19. However the Austrians had eight cavalry brigades to the Prussians four, whilst the Prussians had the only battery.


I really need to create some suitable terrain!


Action started, as in the battle, with an Austrian cavalry charge and due to the national trait weighting their cuirassiers immediately routed a Prussian dragoon brigade.


The other dragoon base held it's own and all brigades fell back. The Prussian move had advanced the first line of foot and swung round the second to protect the flanks.

On the other flank the Austrian horse formed one long line outflanking the enemy.


The second rank of Austrian horse assault the infantry.


While the first rank follow up on the Prussian dragoons.


The second rank dragoons lose a unit to infantry fire whilst the brave dragoons live to fight another round.


On the Prussian left the Austrians charge in.


Again the infantry destroy the assaulting cavalry but both Prussian cavalry units are routed. An Austrian dragoon unit extricates from the melee and charges into the exposed flank of the Prussian foot.


Inexorably the Prussian foot advance into contact with the Austrian foot. The artillery has bounded forward with the infantry but have not been able to fire and move as they actually did. Now they have contacted the enemy they may fire in close combat ie cannister range. On the flank the cavalry fail to break the flank.


In a couple of moves the Prussian infantry over power the Austrians and the game is over as the Austrians fall to half strength.

It didn't take long to set up and from move one to the end it took about half an hour to play. Quicker than I wanted. I think I can add a little more than Okay/Disordered/Destroyed ie some sort of unit points strength to give a bit more "flavour" to stretch the game to an hour.

The "national characteristics" effectively made the result a foregone conclusion ie a refight of Mollwitz and I don't think I shall be that blatant again.

The artillery wasn't given a real test as there was only one battery. One point is that Prof Duffy describes the artillery as bounding forward with the Prussian infantry. These rules don't allow a battery to fire and move. What Duffy doesn't say is how effective the artillery was whilst it moved forward. If the effect was negligible then the rules are correct ie the guns may be firing but not effectively enough to merit a dice.Something to consider.


Thursday, 28 October 2010

Hastenbeck 1757

June 1757 had gone well for the Austrians with their first victory over Frederick at Kolin. It was felt that a bit more effort from their French allies could bring a swift victory.

Surprisingly the French were ready and by July two armies had crossed the Rhine. One moved east to distract Frederick from Bohemia. The other quickly overran Westphalia and moved into Hanover where an alllied army, under the Duke Of Cumberland was still being assembled.

Heavily outumbered Cumberland found his army a half decent defensive position on a string of wooded hills at Hastenbeck with an escape route north back into Hanover through the village of Afferde. Before Afferde is a long stretch of stream and marshland

We used the scenario and army lists from the extremely useful Volley and Bayonet Page (although we had to replace the Hanoverians with British units) so have a look there if you want more detail of the set up.

Historically the battle was a bit of a farce for after an hour of bitter fighting Cumberland felt the battle slipping away from him whilst D'Estrees though the position too difficult to take. Both armies began to withdraw but as it became apparent what was happening it proved easier for the French to return to take the field and claim victory.

The resultant treaty led to the occupation of Hanover. Not surprisingly Cumberland was relieved of command.

Using volley and bayonet we tried to make decent game out of the "carry on" battle of the SYW.


The French centre begin their advance.


Allied heavy batteries in hastily erected redoubts await the enemy.


Historically Cumberlands southern flank was defended only by a small unit of Jaeger. A mistake repeated on table.

The French right wing advance through and between woods.

A number of attacks were required before the village was taken and the main infantry attack was replused.

In retrospect the battle was probably lost here for a well timed counter attack by Hussars and light dragoons on disordered french infantry could only be defeated by the throw of a six on their morale test. Of course a 6 was duly thrown, the cavalry defeated and the infantry rallied. The allied flank was broken.

The French advance on the centre was slow and methodical bringing up big batteries to within close range and proved more effective than the allied guns.


Taking a battering from cannister the allies charge down the hill!

... to disaster.


The French heavies charge through the resultant hole.


The allied left flank and centre were effectively smashed. On the right the French had struggled through marsh and emerged disordered to meet a devastating charge. The French left was destroyed allowing what was left of the allies to withdraw successfully into Hanover.

Today's cheese was Delice de Bourgogne - very probably the best yet.